
How to Clean & Maintain Clipper Blades [Guide]
Step-by-step guide to cleaning, oiling, disinfecting, and maintaining clipper blades. Covers daily routines, when to sharpen vs replace, and ceramic vs steel maintenance differences.
A sharp blade that is poorly maintained will underperform a mediocre blade that is kept clean and oiled. That is not opinion; it is physics. Hair debris packed between teeth increases friction, accelerates heat buildup, and forces the motor to work harder. Dried residue attracts moisture that corrodes cutting edges. Skipping a 90-second maintenance routine after each use can cut your blade's lifespan in half.
This guide covers the complete maintenance workflow: daily cleaning, proper oiling, disinfection protocols, storage, and the critical decision of when to sharpen versus when to replace. We also break down the maintenance differences between ceramic and steel blades, because the two materials require genuinely different care.
Daily Cleaning Routine (After Every Use)
This takes 60 to 90 seconds and should become muscle memory. Every barber, groomer, and home user should do this after each cutting session.
Step 1: Brush Out Hair Debris
With the clipper turned off, use a stiff-bristle cleaning brush (included with most professional clippers) to sweep hair out of the blade teeth. Brush from the back of the blade toward the cutting edge to push debris out, not further in. Pay attention to the gap between the moving and stationary blades where hair packs tightly.
Step 2: Spray or Dip Clean
For a deeper clean, use a blade wash spray (Andis Cool Care, Wahl Blade Ice, or equivalent) or dip the blade tips into a small container of liquid blade wash. Turn the clipper on for 5 to 10 seconds while the blade is submerged or freshly sprayed. The vibration helps dislodge trapped particles. Turn off and shake excess liquid away.
Step 3: Dry Completely
This step is critical and frequently skipped. Wipe the blade with a clean, lint-free cloth. Residual moisture is the primary cause of blade corrosion, especially on steel blades. If you use a blade wash dip, let the blades air-dry for 2 to 3 minutes on a clean towel before oiling.
Step 4: Oil the Blade
Apply 2 to 3 drops of clipper blade oil across the top of the blade teeth. Add one drop on each side rail where the blade slides. Turn the clipper on for 10 seconds to distribute the oil across the cutting surfaces. Wipe away any excess with a cloth. Do not over-oil. Excess oil attracts dust and hair particles, creating the paste-like buildup you are trying to prevent.
Deep Cleaning (Weekly or Bi-Weekly)
In addition to daily cleaning, perform a deeper maintenance session once a week for heavy-use professionals, or every two weeks for moderate use.
Disassemble the Blade
Remove the blade from the clipper. If your blade is a two-piece assembly (cutter and comb), separate them. This exposes the mating surfaces where debris accumulates invisibly.
Ultrasonic Cleaning (Optional but Recommended)
An ultrasonic cleaner filled with blade wash solution removes microscopic particles that brushing cannot reach. A 3 to 5 minute cycle in an ultrasonic bath is the gold standard for blade cleaning. Entry-level ultrasonic cleaners cost $30 to $60 and are worth the investment for any professional using more than 3 blades daily.
Inspect Under Magnification
Use a 10x loupe or magnifying glass to check tooth tips for rounding, chips, or corrosion spots. Catching wear early means you can sharpen before the blade damages hair or skin. Look for uneven wear patterns that might indicate a blade tension or alignment issue with your clipper.
Reassemble, Oil, and Test
Reassemble the blade, apply oil, and run the clipper for 15 seconds. Listen for unusual sounds such as grinding, rattling, or high-pitched whining, which indicate misalignment or worn components. Test-cut a small section of hair to verify clean cutting performance.
Disinfection Protocol (Barbers and Groomers)
For professionals working on multiple clients or animals, blade disinfection between uses is not optional. It is a health code requirement in most jurisdictions.
- Spray disinfectants (Barbicide Spray, Clippercide): Spray directly onto blade surfaces between clients. Allow 30 to 60 seconds of contact time before wiping. These double as coolants during long sessions.
- Immersion disinfection (Barbicide solution): Remove the blade and submerge for the manufacturer's recommended time (typically 10 minutes). Rinse with clean water, dry completely, and oil before next use.
- UV sanitizers: Some high-end shops use UV-C cabinets for between-client blade storage. These supplement but do not replace chemical disinfection.
Important: Never skip the oiling step after disinfection. Disinfectant solutions strip existing oil from blade surfaces, leaving bare metal exposed to moisture and accelerated corrosion.
Ceramic vs Steel: Maintenance Differences
If you are deciding between ceramic and steel blades, maintenance requirements should factor into your decision. For a full material comparison, see our Ceramic vs Steel Clipper Blades guide.
| Maintenance Task | Steel Blades | Ceramic Blades |
|---|---|---|
| Daily oiling | Required (prevents rust + reduces friction) | Recommended (reduces friction only, no rust risk) |
| Corrosion risk | High if oiling is skipped or blade stored wet | Zero — ceramic is chemically inert |
| Cleaning method | Brush + blade wash + dry immediately | Same process, but less urgency to dry quickly |
| Sharpening frequency | Every 4-6 weeks (heavy use) | Every 12-20 weeks (heavy use) |
| Sharpening method | Standard lapping disk with abrasive compound | Diamond-grit lapping disk only |
| Drop damage risk | Low — steel dents but keeps working | High — ceramic can chip or crack |
| Storage requirements | Dry, oiled, protected case | Padded case (chip protection is priority) |
The bottom line: ceramic blades require less chemical maintenance (no rust prevention) but more physical care (chip-proof storage). Steel blades are more forgiving of drops but demand consistent oiling to prevent corrosion.
When to Sharpen vs When to Replace
This is the question that costs professionals the most money when answered incorrectly. Sharpening a blade that should be replaced wastes $8 to $15 per session and delivers subpar results. Replacing a blade that just needs sharpening wastes $15 to $30 on a new blade unnecessarily.
Sharpen When:
- The blade pulls hair slightly but teeth are visually intact under magnification
- Cutting requires more passes than when the blade was new
- Heat buildup is noticeable but not extreme
- The blade has been sharpened fewer than 3 to 4 times previously
Replace When:
- Teeth are visibly chipped, cracked, or shortened from multiple sharpenings
- The blade no longer sits flat (warping from heat or impact damage)
- Performance does not improve after a professional sharpening
- The blade has been sharpened 4+ times and the teeth are noticeably shorter than a new blade
- Rust or deep corrosion pitting that cannot be removed by lapping
For detailed sharpening techniques and methods, see our How to Sharpen Clipper Blades guide.
Why Blade Manufacturing Quality Affects Maintenance Needs
Not all blades are created equal when it comes to maintenance. The manufacturing process directly determines how quickly a blade dulls, how susceptible it is to corrosion, and how many sharpening cycles it can survive.
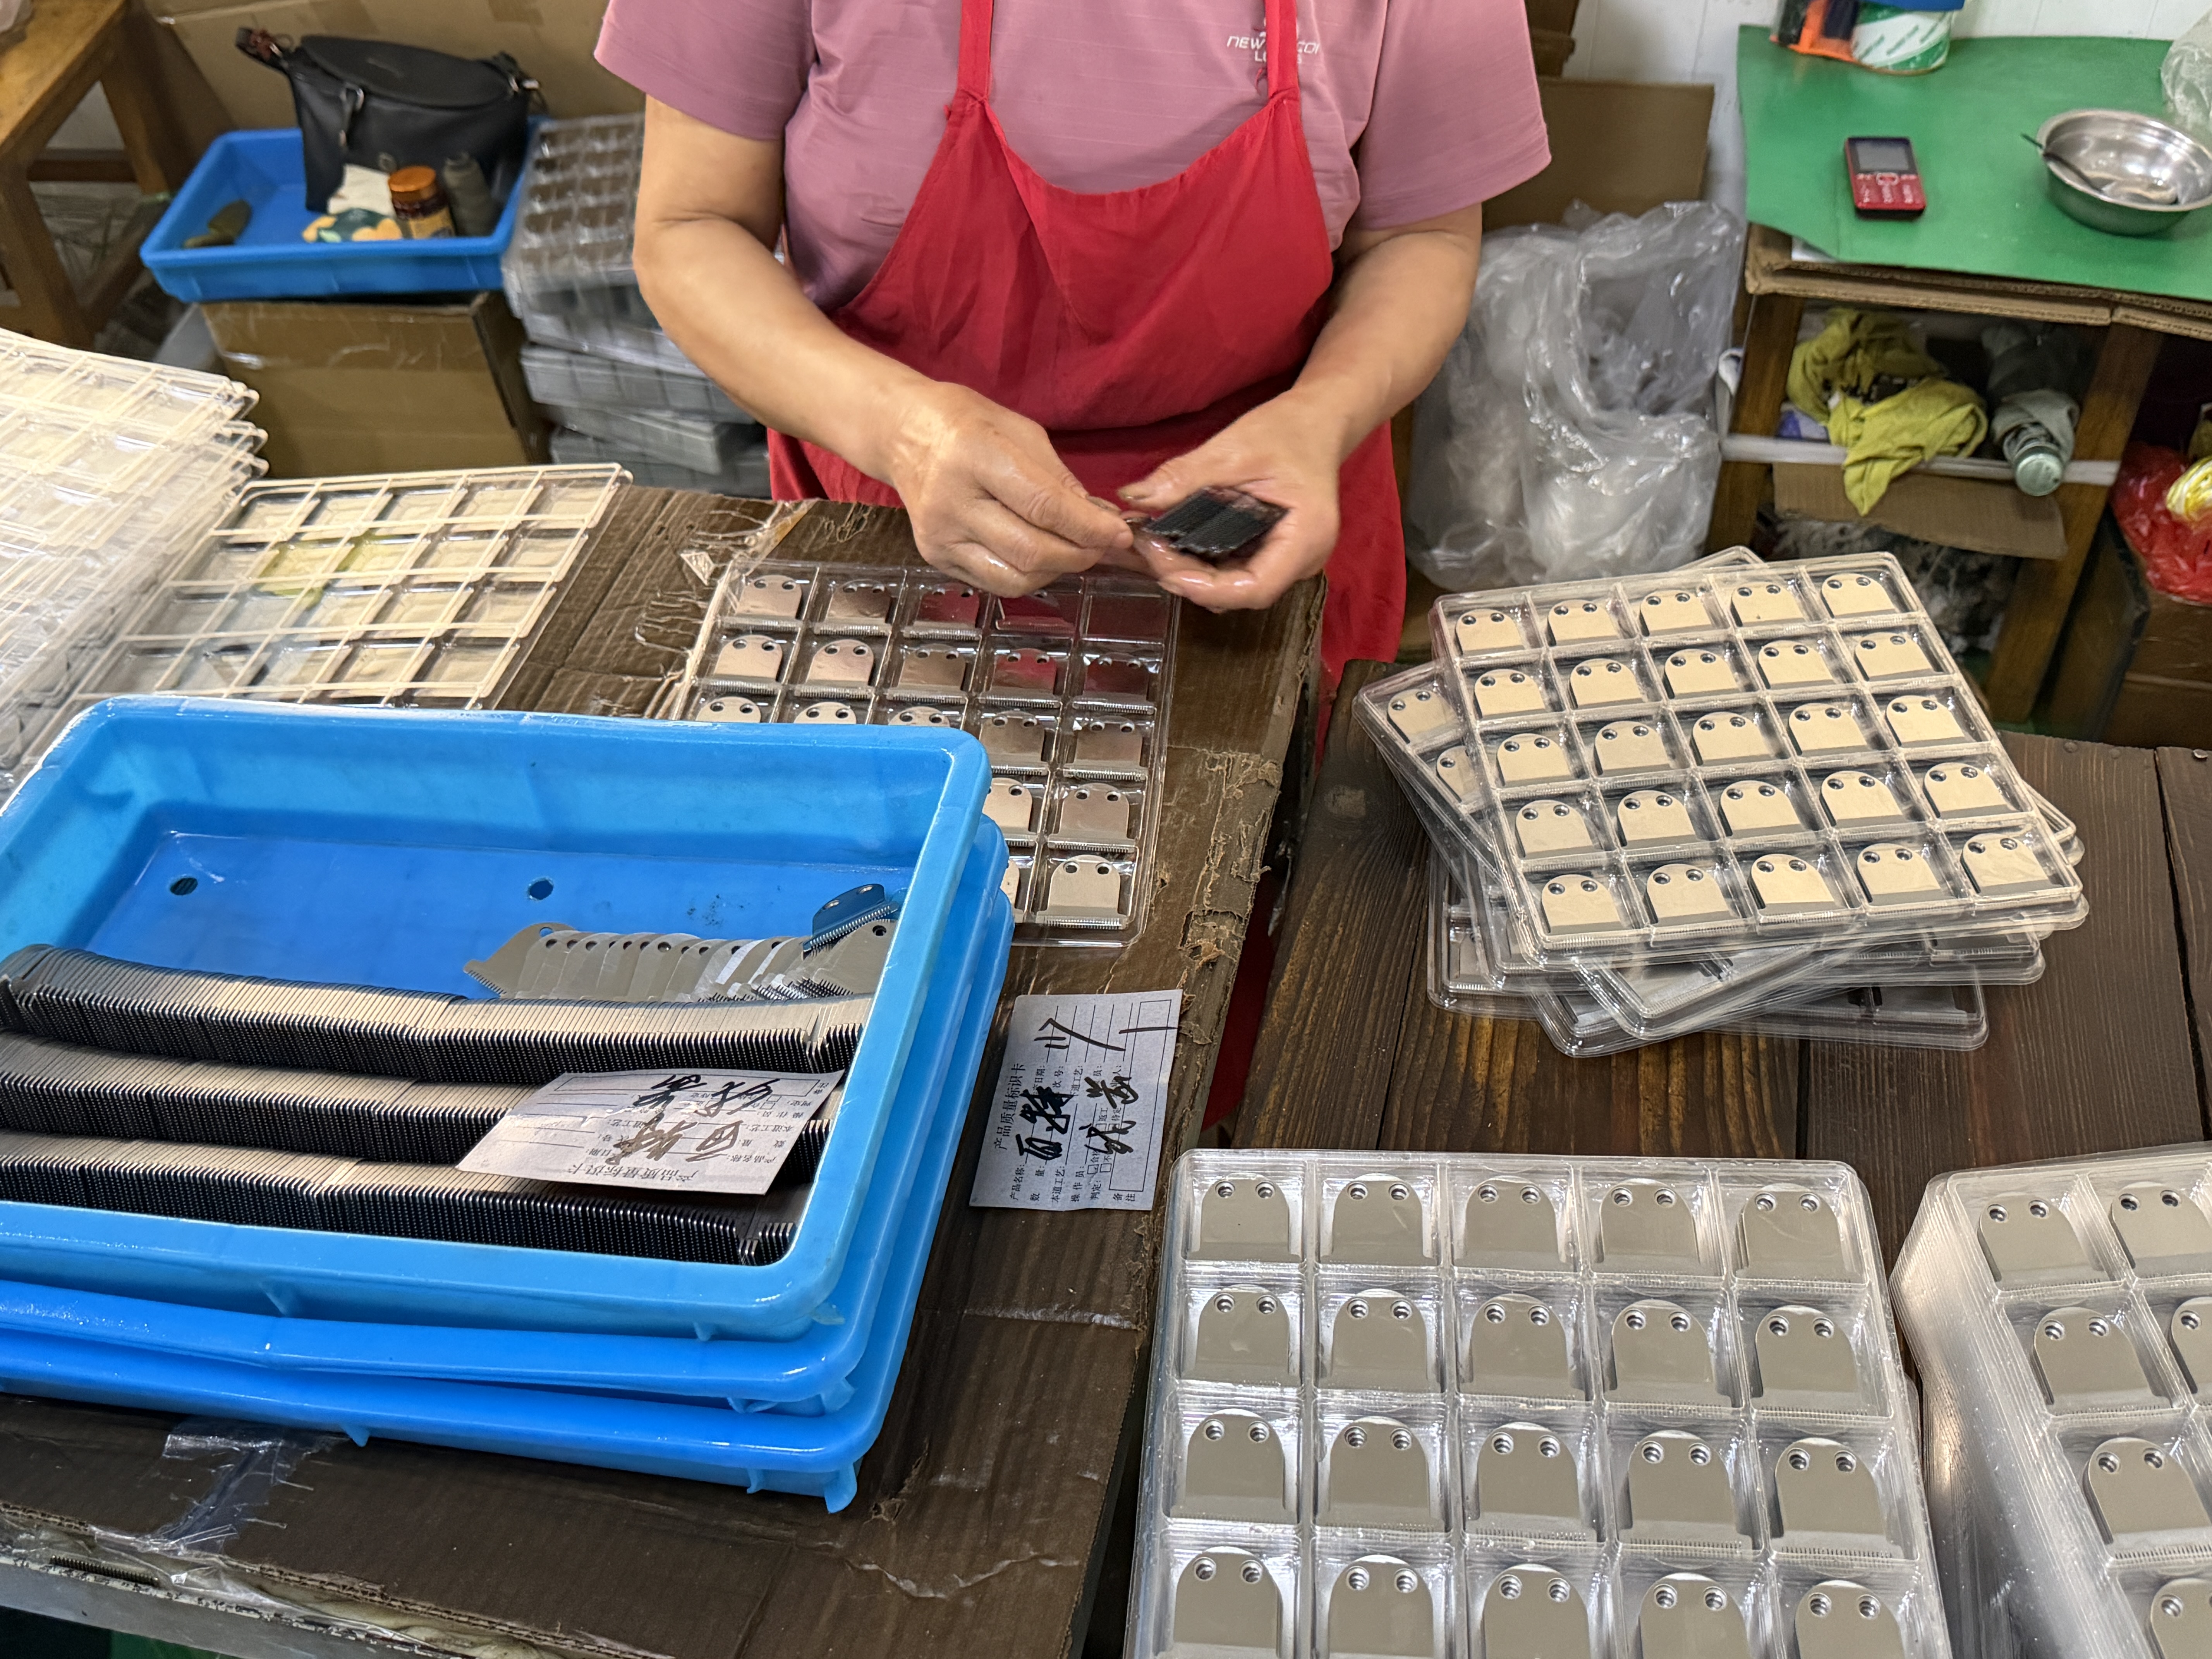
Blades manufactured with MIM powder metallurgy achieve HRC 60-62 hardness, compared to HRC 52-56 for standard stamped blades. That hardness difference has direct maintenance implications: harder blades resist microscopic edge deformation (the primary cause of dulling), which means they maintain sharpness 2 to 3 times longer between sharpening sessions. Fewer sharpenings means less material removed over the blade's lifetime, which means more total sharpening cycles before replacement.
As one of China's top 3 clipper blade manufacturers with over 360 employees and 20 years of MIM production experience, we engineer our blades specifically for extended service life. Our sintering process achieves 96-99% theoretical metal density, leaving fewer microscopic voids where corrosion can initiate. The result is a blade that stays sharper longer, resists rust better, and ultimately costs less to maintain over its full lifespan.
Blade Storage Best Practices
- Individual blade cases: Store each blade in its own protective case or blade tray. Blades stored loose in a drawer knock against each other and dull the cutting edges.
- Dry environment: Never store blades in a humid bathroom or near water sources. A drawer or cabinet in the main work area is ideal.
- Oiled before storage: Always oil steel blades before putting them away, even if you cleaned them after the last use. The oil film prevents oxidation during storage.
- Labeled organization: Mark blades with their size and last sharpening date. This helps you rotate stock and catch blades that are overdue for service.
Frequently Asked Questions
How often should I oil clipper blades?
Oil after every use session. For all-day professional use, oil every 2 to 3 clients or every 2 to 3 pets. If you hear the clipper pitch change (getting higher or louder), that is an immediate signal to stop and oil. Running dry blades accelerates wear exponentially.
Can I use any oil on clipper blades?
Use only clipper-specific blade oil or lightweight mineral oil. Do not use cooking oils (they become sticky and rancid), WD-40 (it evaporates too quickly and can irritate skin), motor oil (too heavy, contains additives), or hair product oils (they leave residue). Clipper oil is formulated to be food-safe, non-irritating, and the correct viscosity for blade lubrication.
My blade rusted during storage. Can I save it?
Surface rust (orange discoloration, no pitting) can often be removed with fine steel wool or a rust eraser, followed by lapping on a fine-grit stone. Deep pitting that you can feel with a fingernail means the cutting edge is compromised, and the blade should be replaced. Prevention is far easier than repair: oil before storage, always.
How do I maintain blades in a humid climate?
Humid environments accelerate corrosion significantly. Use a heavier application of blade oil (3 to 4 drops instead of 2 to 3). Consider storing blades with a silica gel packet in the case. Inspect weekly for early rust spots. Ceramic blades are an excellent choice for humid climates since they are completely corrosion-proof. Browse our ceramic blade options for corrosion-free alternatives.
Is it worth buying an ultrasonic cleaner?
If you use 3 or more blades daily, yes. A $40 to $60 ultrasonic cleaner pays for itself within months by reducing sharpening frequency and extending blade life. For occasional home use, manual brushing and spray cleaning is sufficient.