
What Is Concrete Crack Injection and When Do You Need It?
Concrete crack injection is the process of forcing a liquid resin or cementitious material into a crack under controlled pressure to restore the monolithic integrity of the concrete member. Unlike surface sealing — which merely covers the crack — injection fills the entire crack depth and width, bonding the crack faces together and restoring structural capacity.
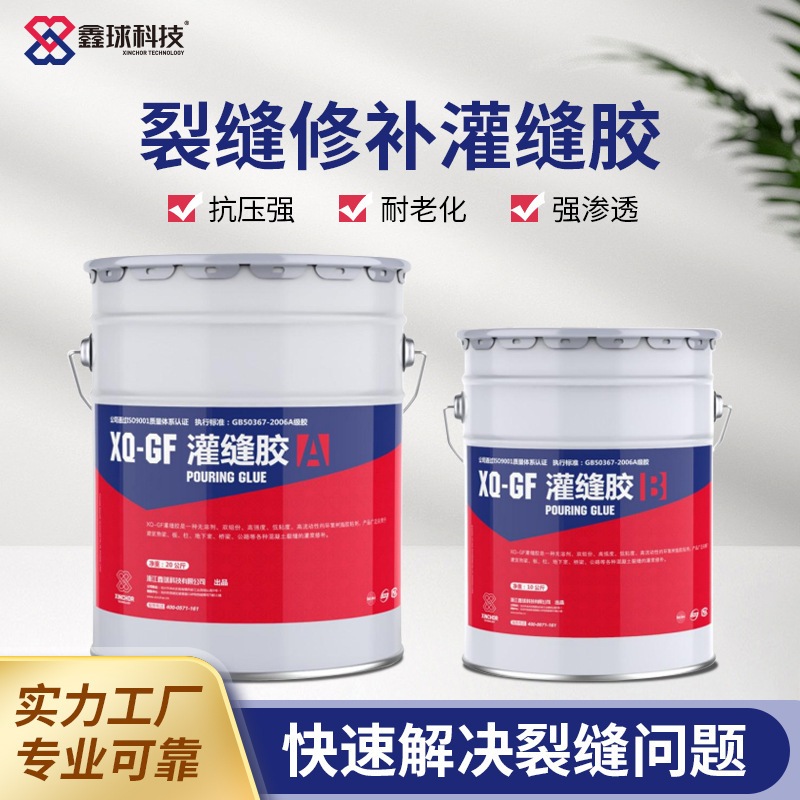
The critical distinction is between structural cracks and non-structural cracks. According to ACI 224R-01 (Control of Cracking in Concrete Structures), cracks wider than 0.3 mm in reinforced concrete exposed to weather or aggressive environments require repair to prevent reinforcement corrosion. For prestressed concrete, the threshold drops to 0.1 mm. The choice of injection material depends entirely on this classification.
As a manufacturer of injection resins since 2005, we have supplied materials for over 3,000 crack injection projects across 40 countries — from dam repair in Southeast Asia to parking structure restoration in the Middle East. Here is what we have learned about selecting and applying the right injection system.
Types of Concrete Crack Injection Materials
1. Epoxy Injection Resin
Epoxy injection resin is the primary choice for structural crack repair where the goal is to restore the original tensile and flexural strength of the concrete member.
Key properties of our epoxy injection resins:| Property | Low Viscosity (XQ-EI-L) | Medium Viscosity (XQ-EI-M) |
|---|---|---|
| Viscosity at 25°C | 150–300 mPa·s | 800–1,500 mPa·s |
| Tensile Strength | ≥ 30 MPa | ≥ 40 MPa |
| Compressive Strength | ≥ 60 MPa | ≥ 70 MPa |
| Bond Strength to Concrete | ≥ 3.0 MPa | ≥ 3.5 MPa |
| Elongation at Break | 1.5–2.0% | 1.0–1.5% |
| Gel Time (25°C) | 50–70 minutes | 40–60 minutes |
| Applicable Crack Width | 0.1–1.0 mm | 0.5–5.0 mm |
| Mixing Ratio (A:B) | 2:1 by volume | 3:1 by volume |
2. Polyurethane Injection Resin
Polyurethane (PU) injection is the choice for waterproofing and for cracks that are still actively moving (live cracks).
Our polyurethane injection resin (XQ-PU):- Reacts with water to form a flexible, closed-cell foam
- Expansion ratio: 5 to 20 times original volume (adjustable by water contact)
- Shore A hardness after cure: 30 to 45 (flexible, accommodates movement)
- Water cut-off pressure: up to 3 bar
- Working time: 3 to 8 minutes (depending on water presence and temperature)
3. Microfine Cement Grout Injection
For cracks wider than 3 mm and for mass concrete structures (dams, retaining walls, tunnels), microfine cement grout offers several advantages over epoxy:
- Lower material cost per volume
- Better compatibility with concrete substrate
- No volatile organic compounds (VOCs)
- Suitable for high-volume injection (liters to cubic meters)
Crack Width vs. Material Selection Guide
| Crack Width | Material | Reason |
|---|---|---|
| 0.05–0.2 mm | Low-viscosity epoxy (150–300 mPa·s) | Only ultra-low viscosity can penetrate hairline cracks |
| 0.2–1.0 mm | Low to medium-viscosity epoxy | Standard structural repair range |
| 1.0–3.0 mm | Medium-viscosity epoxy or microfine grout | Epoxy if structural, grout if mass concrete |
| 3.0–10 mm | Medium-viscosity epoxy or cementitious grout | Epoxy for structural, grout for cost efficiency |
| > 10 mm | Cementitious grout or polymer-modified mortar | Gravity filling or low-pressure grout injection |
| Active/leaking | Polyurethane foam injection | Expands to seal against water pressure |
| Active + structural | PU first, then epoxy re-injection | Two-stage approach |
Injection Equipment and Pressure Guidelines
Surface-Mounted Injection Ports
We recommend injection ports (packers) spaced at 1.0 to 1.5 times the member thickness along the crack trace. For a 200mm thick wall with a through-crack, ports should be placed at 200 to 300 mm intervals on one face, with corresponding ports or monitoring points on the opposite face.
Injection Pressure
| Application | Recommended Pressure | Equipment |
|---|---|---|
| Gravity feed (horizontal cracks, slabs) | 0 pressure (gravity only) | Drip tubes, funnels |
| Low pressure (vertical cracks, walls) | 0.2–0.5 MPa (30–70 psi) | Manual pump, electric pump |
| Medium pressure (deep cracks, columns) | 0.5–1.5 MPa (70–220 psi) | Electric pump |
| High pressure (dams, tunnels, mass concrete) | 1.5–4.0 MPa (220–580 psi) | High-pressure grout pump |
Step-by-Step Concrete Crack Injection Procedure
Step 1: Crack Survey and Documentation
Map every crack on the structure, recording:
- Location, length, and orientation
- Width at multiple points (use a crack width comparator or optical microscope)
- Depth (core drilling or ultrasonic pulse velocity testing)
- Activity status: is the crack still growing? (Install crack monitors for 7 to 14 days)
- Moisture condition: dry, damp, or actively leaking
Step 2: Surface Preparation
- Clean the crack trace: remove loose concrete, dirt, oil, and coatings
- For carbonated concrete surfaces, grind back 1 to 2 mm to expose fresh concrete
- Blow out the crack with oil-free compressed air (minimum 6 bar)
- For damp cracks that will receive epoxy injection, dry with hot air to a surface moisture content below 4% (moisture meter reading)
Step 3: Install Injection Ports
- Drill holes at 45 degrees into the crack plane, intersecting the crack at approximately mid-depth of the member
- Install surface-mounted or drilled-in injection ports (packers)
- Spacing: member thickness multiplied by 1.0 to 1.5
- For through-cracks, install ports on both faces (inject from one side, monitor flow on the other)
Step 4: Seal the Crack Surface
Apply a surface seal along the entire crack trace between injection ports. Our surface sealing compound (XQ-SS, a fast-curing epoxy paste) creates an airtight dam that forces the injected resin into the crack rather than leaking out the surface. Allow the surface seal to cure for a minimum of 4 hours before injection.

Step 5: Inject
- Start from the lowest port (for vertical cracks) or from one end (for horizontal cracks)
- Inject slowly until resin appears at the next port
- Close the current port and move to the next
- Continue until all ports have been injected
- Maintain pressure on the final port for 2 to 5 minutes to compensate for resin shrinkage and ensure complete filling
Step 6: Remove Ports and Finish
After the injection resin has fully cured (24 to 48 hours for epoxy, 1 to 2 hours for PU), remove the surface-mounted ports and grind the surface seal flush. If the member will receive a coating or overlay, leave the surface slightly rough for bond.
Quality Control and Verification
Core drilling verification: Take 50mm diameter cores through the injected crack at 10% of injection locations (minimum 3 cores per structure). The core should show:- Complete resin filling of the crack with no voids
- Concrete failure mode when tested in tension (not adhesive failure at the resin-concrete interface)
- Bond strength exceeding 2.0 MPa per EN 1504-5
Common Mistakes in Concrete Crack Injection
FAQ
Q: Can I inject cracks in cold weather? A: Yes, but curing time increases significantly. At 10°C, our epoxy injection resin takes 3 to 4 days to reach full cure instead of 24 hours. Below 5°C, we recommend using our winter-grade formulation (XQ-EI-L-W, gel time 120 minutes at 5°C) or heating the substrate to a minimum of 10°C. Q: What is the shelf life of injection resin cartridges? A: Our epoxy injection resins have a 12-month shelf life when stored at 5 to 25°C in the original sealed containers. Polyurethane resins have a 6-month shelf life due to moisture sensitivity. Once opened, use within 30 days. Q: How do I know if the injection was successful? A: Three indicators: (1) resin appeared at adjacent ports during injection, confirming continuity; (2) injection pressure dropped and stabilized, indicating the crack is full; (3) core drilling shows complete filling with no voids. Q: Can I inject structural cracks in prestressed concrete? A: Yes, but with extra care. Prestressed members are under compression, which means the cracks may close when unloaded. Inject under service load conditions so the crack is at its maximum width. Use low-viscosity epoxy only — the penetration depth is critical because the prestressing strand cover is often minimal. Q: What is the minimum temperature for epoxy injection? A: The absolute minimum substrate temperature for our standard epoxy is 5°C. Below this threshold, the resin viscosity increases dramatically and may not flow into narrow cracks. Our winter-grade formulation extends this to 0°C.Conclusion
Concrete crack injection is the most effective method for restoring the structural integrity and watertightness of cracked concrete. The key to success is matching the injection material to the crack characteristics — epoxy for structural repair of dormant cracks, polyurethane for active leaking cracks, and cementitious grout for high-volume applications.
Explore our concrete crack injection products or contact our engineering team for material recommendations based on your specific crack conditions.